Thursday, December 29, 2011

Cluster How to CentOS / RedHat 6.2

Step # 1: Mount an ISO file.

# mkdir -p /media/centos
# mount -o loop /dev/centos6X.iso /media/centos

Step # 2: Create repo config file on both the node.

# vi /etc/yum.repos.d/iso.repo
[ISO]
baseurl=file:///media/centos
enabled=1

Save and close the file

Step # 3: Stop firewall on both node.

#chkconfig iptables off
#chkconfig ip6tables off

Step # 4: Disable Selinux.

#vi /etc/selinux/config
disbale selinux

reboot (if you want)

Step # 5: Add hosts entery on both node.

#vi /etc/hosts
192.168.1.10 node1.clustering.com
192.168.1.11 node2.clustering.com (add this entery to both the node)

Step # 6: Create a ricci user & passwd.

#useradd ricci
#passwd ricci

Step # 7: Install Cluster software.

#yum install cman rgmanager luci ricci (on 1st node)
#yum install cman rgmanager ricci

Step # 8: Start service on both node

#service ricci start (on both the node)

Shutting down ricci:
Starting oddjobd:                                          [  OK  ]
generating SSL certificates...  done
Generating NSS database...  done
Starting ricci:                                            [  OK  ]

#service luci start (on 1st node only)
service luci restart
Stop luci...                                               [  OK  ]
Start luci...                                              [  OK  ]
Point your web browser to https://centos1.clsutering.com:8084 (or equivalent) to access luci

Step # 9: Open the firefox.

https://192.168.1.10:8084/

login as root & root passwd

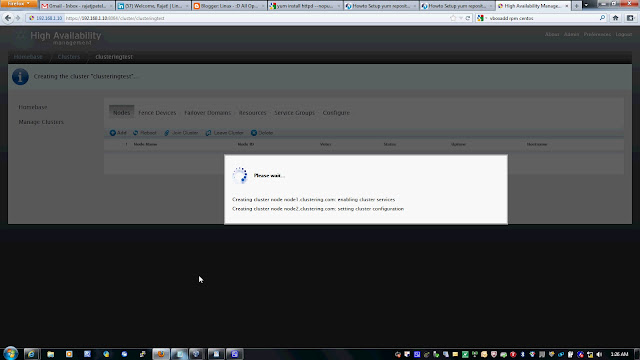
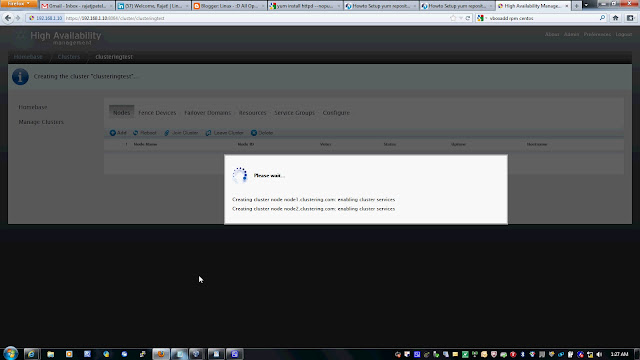
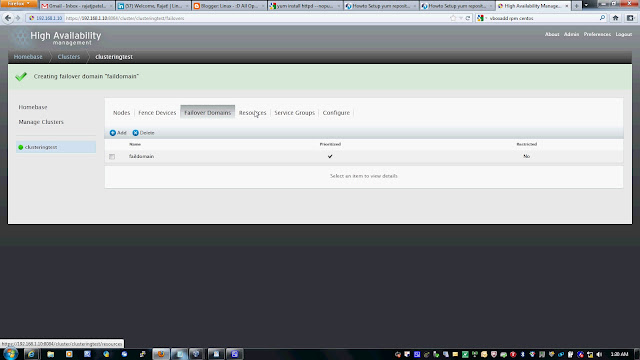
Follow the snap short or you watch youtube to create a Cluster on following link




Friday, December 23, 2011

RedHat / CentOS Cluster, Which ports need to be open within iptables

cman (Cluster Manager) UDP Ports 5404, 5405

# iptables -I INPUT -m state --state NEW -m multiport -p udp -s 192.168.1.0/24 -d 192.168.1.0/24 --dports 5404,5405 -j ACCEPT

# iptables -I INPUT -m addrtype --dst-type MULTICAST -m state --state NEW -m multiport -p udp -s 192.168.1.0/24 --dports

 dlm (Distributed Lock Manager) TCP Port 21064

# iptables -I INPUT -m state --state NEW -p tcp -s 192.168.1.0/24 -d 192.168.1.0/24 --dport 21064 -j ACCEPT

 ricci (part of Conga remote agent) TCP Port 11111

# iptables -I INPUT -m state --state NEW -p tcp -s 192.168.1.0/24 -d 192.168.1.0/24 --dport 11111 -j ACCEPT

 modclusterd (part of Conga remote agent) TCP Port 16851

# iptables -I INPUT -m state --state NEW -p tcp -s 192.168.1.0/24 -d 192.168.1.0/24 --dport 16851 -j ACCEPT

 luci (Conga User Interface server) TCP Port 8084

# iptables -I INPUT -m state --state NEW -p tcp -s 192.168.1.0/24 -d 192.168.1.0/24 --dport 8084 -j ACCEPT

 igmp (Internet Group Management Protocol)

# iptables -I INPUT -p igmp -j ACCEPT

Tuesday, December 20, 2011

Linux LVM

1. create LVM partition:

fdisk /dev/[disk]
change partition type from LINUX to LVM

2. initialization LVM partition:
pvcreate /dev/[disk_partiton1] /dev/[disk_partition2]
check commands:
pvs
pvdisplay

3. create LVM group:
vgcreate [group_name] /dev/[disk_partition1] /dev/[disk_partition2]
check commands:
vgs
vgdisplay

4. create logical volumes which is attached to group:
lvcreate -L[size]M -n [vol_name] [group_name]
check commands:
lvs
lvdisplay

5. format volumes:
mkfs.ext3 [LV_name_from_lvdisplay]


EXTEND
change size volume:
lvextend -L +[size]M [LV_name_from_lvdisplay]

change size partition:
resize2fs [LV_name_from_lvdisplay]

REDUCE
fsck -f [LV_name_from_lvdisplay]

change size partition:
resize2fs [LV_name_from_lvdisplay] [size]G

change size volume:
lvreduce -L -[size]G [LV_name_from_lvdisplay]

Force User to Change Password at First Login Fedora /Centos /Suse /Ubuntu

To setup this there are various ways, but I believe one of the very simplest one is the one I am going to explain below.
For ex: You created a new user “fake”:
# useradd fake

Create password for the user
# passwd fake
Changing password for user foo.
New UNIX password:
BAD PASSWORD: it is WAY too short
Retype new UNIX password:
Then to force the user to change the password at the first login, simply set the password to expiry:
#chage -d 0 foo

This command will set the password to expiry and will force user to change their password at the next login.

Setting it default for all new Users:

A system admin is one which who can do the work but a efficient system admin is the one who do the work manually first time and then make computer to work for him next time for same task. Same thing is true over here. You want all the new users added to your system, to be forced to change their password at the first login, update this file
#vi /etc/default/useradd
 GROUP=100
HOME=/home
INACTIVE=-1
EXPIRE=0 #(need to add zero "0")
SHELL=/bin/bash
SKEL=/etc/skel
GROUPS=video
CREATE_MAIL_SPOOL=no
UMASK=022
This file contains the details, what all settings will be applied to the new users created into the system with useradd command.
Just set the value of EXPIRE=0 in this file, and after that, every time when a new user will be created, they will be forced to change the password at the next login.

password duration:
for new accounts default settings are in /etc/login.defs
settings for current accounts are in /etc/shadow but we edit by command chage
chage -l [user] #check settings for user
chage -E "YYYY-MM-DD" [user] #set date when account expire, -1 means never
chage -M [nr] [user] #set maximum number of days between password change from last password change, -1 means never expire
chage -d "YYYY-MM-DD" [user] #set last password change
chage -W [nr] [user] #number of days of warning before password expires
chage -i [nr] [user] #set password inactive, when account is blocked after password expire