The IT Infrastructure Analyst, IT Ops Engg., Systems Admin, IT Support
Engg., IT Helpdesk Engg. Companies changes and Job titles change but the
responsibilities over lap and mix. My quest to make work fun, simple,
joy and easy has lead to write, collect, source and use various scripts
and tools that will help in a very easy and fun filled work flow with
computers and IT systems.
This project is to write and collect tools and utilities that make
System Administration easy and simple. If a hard working Admin cannot
have a beautiful wallpaper on his screen then the Admin can at least
have one complete set utility tools that make the brow sweat free and
achieve deadlines.
The current list of tools:
Password Generator<br>
Network & Firewall Auditor<br>
Disk Auditor<br>
FS Auditor<br>
General System Auditor
Download at:
http://code.google.com/p/linux-easy-admin-utilities/
http://sourceforge.net/projects/lnxesyadmutil/
# wget http://linux-easy-admin-utilities.googlecode.com/files/linux-easy-admin-util-v0.2.tar.gz
# tar -zxvf linux-easy-admin-util-v0.2.tar.gz
# cp easy-admin/* /usr/local/bin/
# adtdepchk
genadtchk - General Audit Checker: This script generates a simple
information information about your system. Basic system, Memory, Disk,
File System, Network data is audited.
dksadtchk - Disk Audit Checker: This script generates a complete and
compressive information about your systems disk and storage. Total disks
at boot time, contained partitions, partitions used, removable disks,
capacity and free capacity etc.
fsadtchk - File System Audit Checker: This script generates a complete
and compressive information about the systems FS usage and current
mounted, total available, type, size, free, and space occupying number
one folder or file from the FS.
netadtchk - Network Audit Checker: This script generates a complete and
compressive information about the network interfaces - hardware,
virtual, local and other , firewall and its status, outgoing firewall
status, current process that are having listening processes, port - ip -
process - executable table, IPV4/6 feature, forwarding, masquerading
for the system.

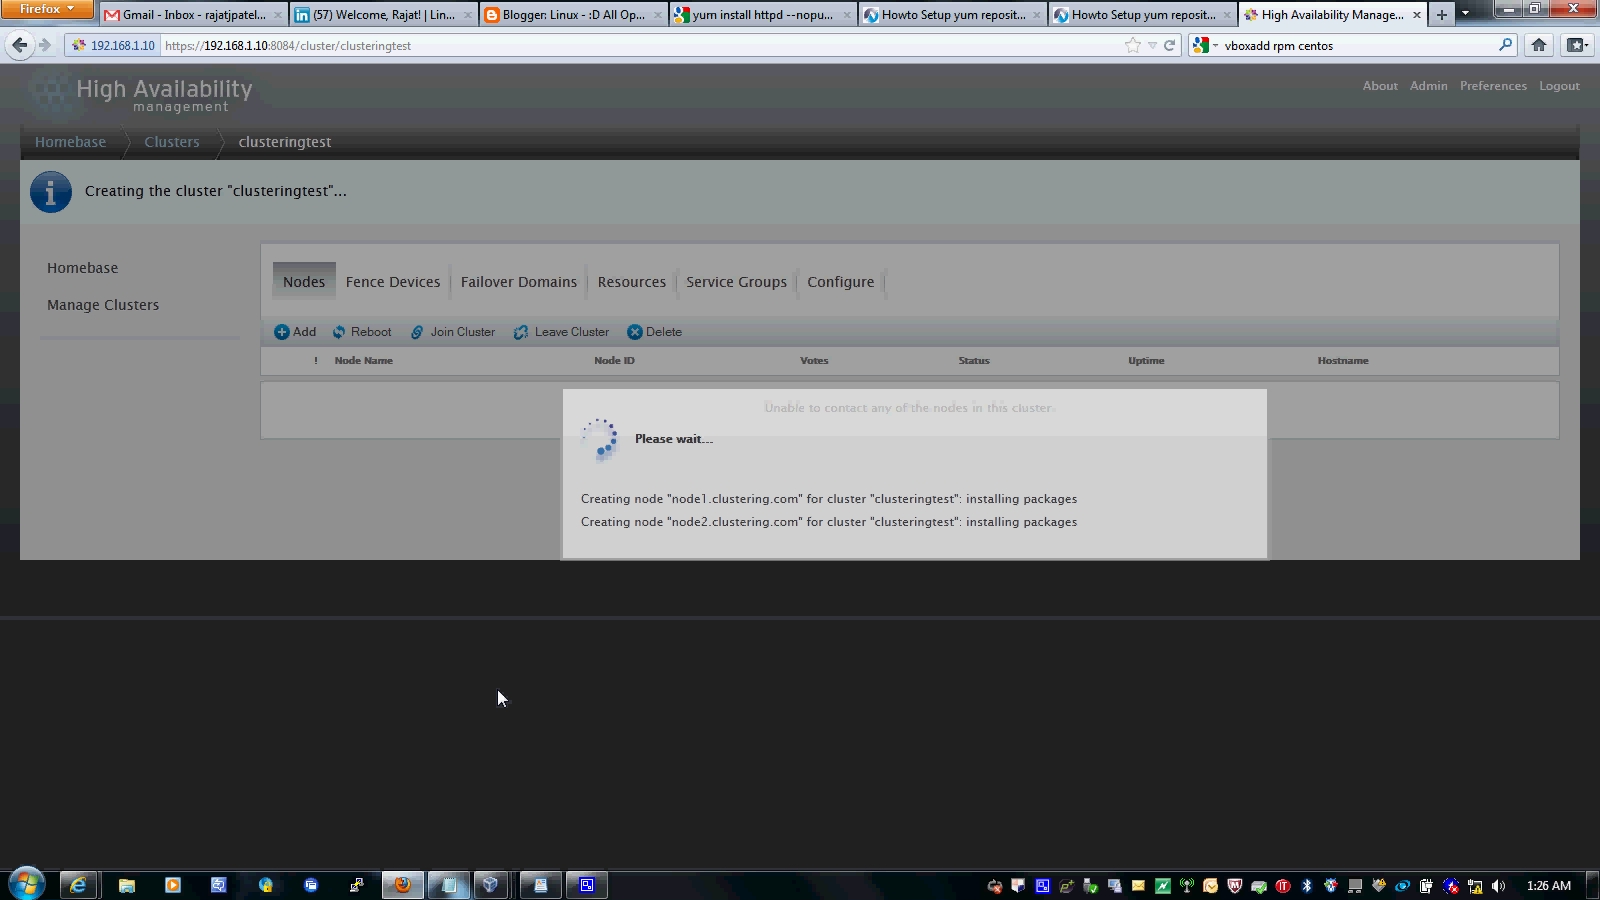
 Step3
Step3
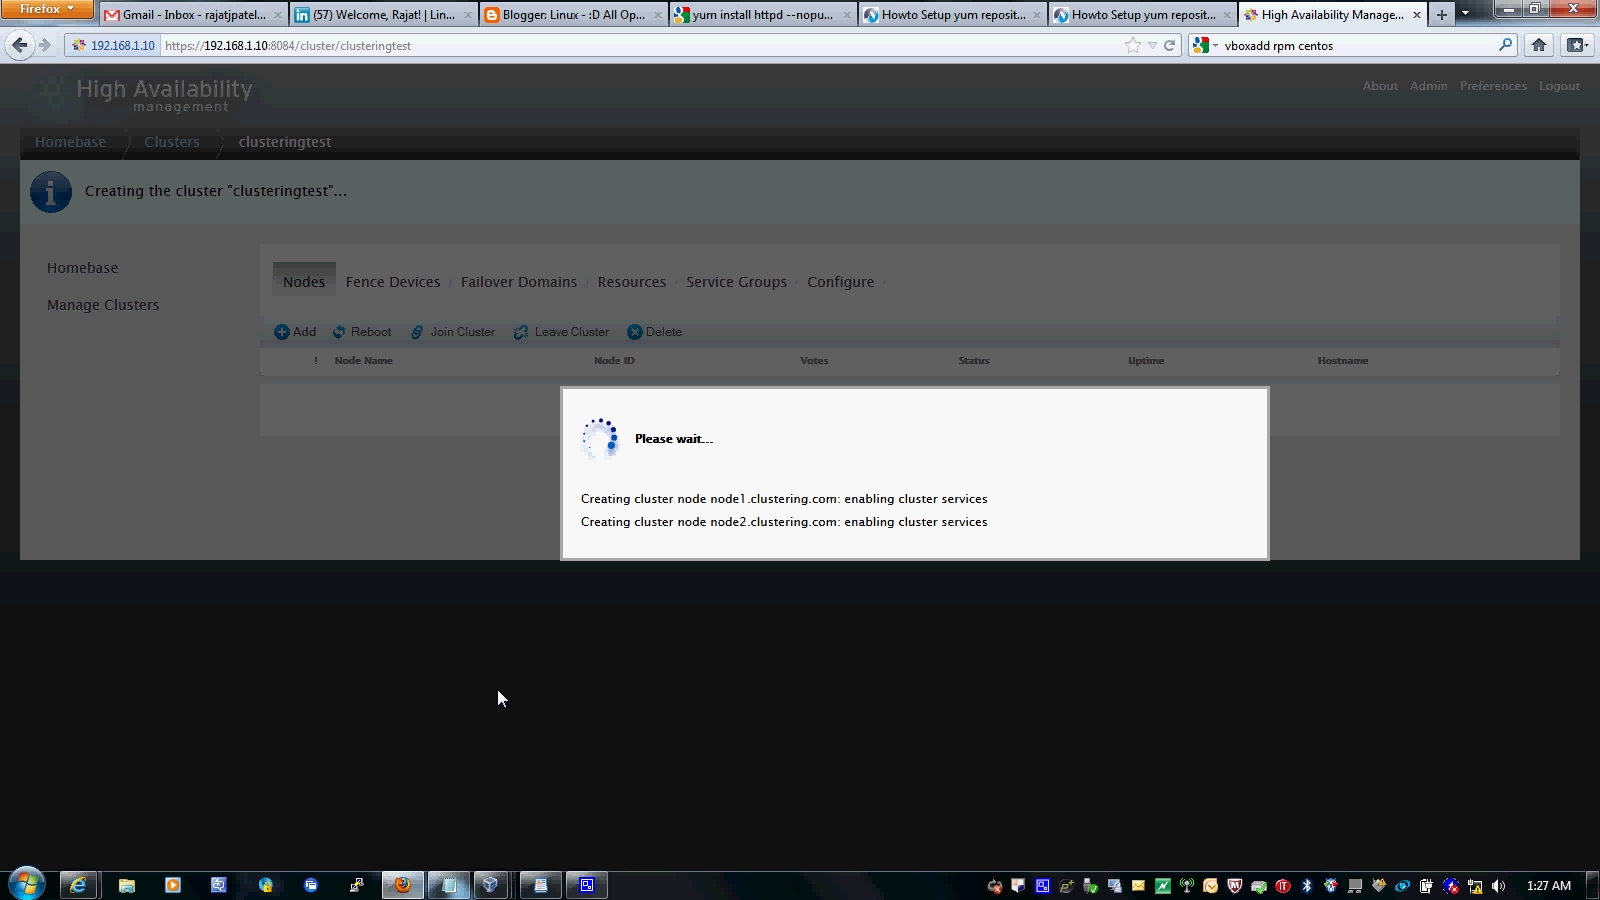
 Step 5
 Step 8
 Step 9
 Step 12